How to add the booking widget to your website
Steps how to add booking tool to your website
- Log in to your Nabooki account.
- From the navigation panel on the left side of your screen, please click Online widgets > Booking widget.
- Click Website Integration tab.
- Select the 'All Services Widget' to display all services or use the drop-down to select an individual service, then follow the steps to copy the code.
- Select an option on how you want to display your booking tool.
 Note: Other website builders have limitations with the Book Now button function as it won't fit properly in your screen.
 - Access your website editor or provide your web developer with the code.
If you require assistance adding the booking tool to your website, contact our support team using the live chat button in the lower right corner of the screen.
Booking Tool or Book Now Button options
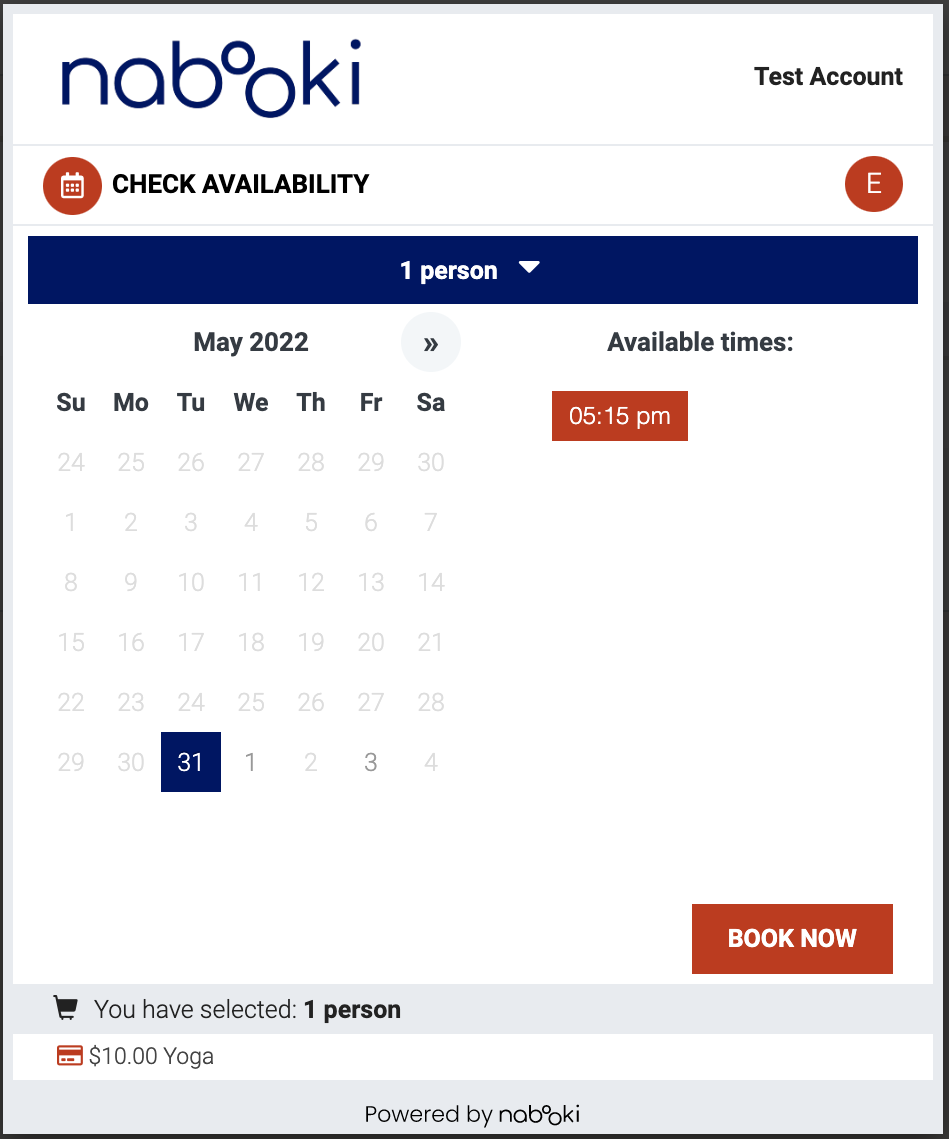
We have two options on how you can add it to your website. All you have to do is tick whichever you prefer from the page. Below are sample pictures of how it would display on your website.
Entire booking tool
If you have the space available on your web page, having the booking calendar provides a great visual tool to help convert visitors into customers.

Book now button
If your space is limited, adding the book now button is the best option. Once a customer clicks on book now, they will be directed to the whole booking tool where they can book in.

The code required to add either the Online Booking Calendar or Booking Button is an iframe.
If you have access to edit the content on your website using a Content Management System such as Wordpress, Wix or Weebly, you may be required to add a plugin to add the iframe code, otherwise, seek assistance from your web developer.
Need Help?
If you need assistance, contact our support team:
💬 Live Chat: Click the chat icon in the bottom-right corner of the screen.
📧 Email: support@nabooki.com
Related Articles
How to add the Timetable widget to your website
Timetable view is a booking feature that allows you to display schedules on a standalone page or as a widget. This Timetable Widget will show schedules for the week, with an option to switch to a daily view. Schedules will be listed in order from the ...How to Add or Edit a Service Description and Image
Enhance your customer booking experience by adding a service description and image to your booking widget. A well-detailed service listing helps customers understand what they’re booking, improves conversions and ensures they choose the right ...How to add the booking widget to your Facebook Business Page
Adding the booking widget to your Facebook Business Page The Call to Action button encourages people to take an action that is important to your business. In this article we will show you how to add the booking tool to your Facebook Business page by ...How to Manage Your Business Details in Nabooki
The Business Details section in Nabooki allows you to store key company information, including your business name, website, and logo. While these fields are optional, keeping them up to date can be beneficial for branding and system integrations. Why ...How to Automatically Capture Customer Reviews with Feedback Emails
Collecting authentic customer reviews is vital for building trust and improving your business. Nabooki helps you do this effortlessly by automatically sending verified feedback request emails only to customers who have made a booking with you. Unlike ...